
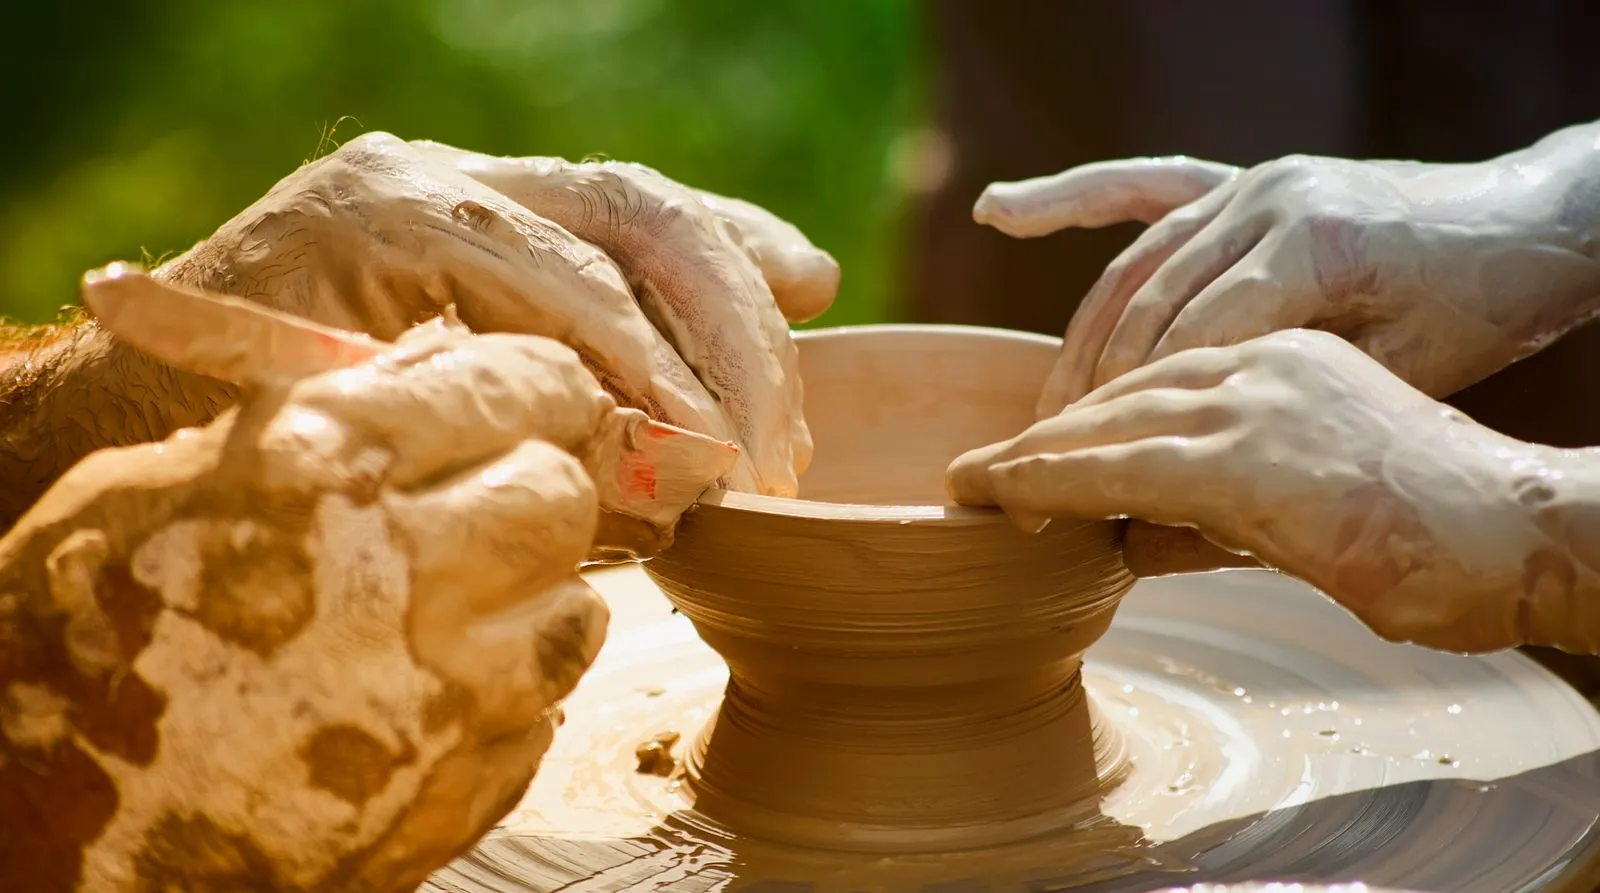
Choosing a first sculpture medium comes down to how you like to work, what tools you can access, and how much time you have. Clay lets you shape and revise a form, while plaster sets into a durable solid and asks you to plan ahead. Paper, wire, and air-dry materials offer other ways to explore form with modest equipment. Compare their strengths and limits before buying supplies, then begin with a small project that fits your workspace.
Start With Your Work Style
Think about whether you want to build a form gradually, carve it from a block, or assemble it from separate parts. Soft clay suits hands-on shaping and frequent changes. Plaster can be poured or built up, but it becomes less workable as it sets. Wire and paper are useful when you want to construct an open framework or a lightweight form rather than model a solid mass.
Consider your available space and cleanup routine, too. Clay can be reused if you keep it moist and separate from household drains. Plaster residue should not go down a sink because it can harden in pipes. Wire needs a safe way to cover or bend sharp ends. A simple setup that you can maintain is often more useful than a complicated material with tools you do not have.
Clay: Shape, Adjust, Repeat
Water-based modeling clay is a forgiving place to start because you can add, remove, or reshape material while it stays workable. Basic tools include your hands, a small wooden modeling tool, a wire cutter, and a smooth surface. Begin with a pinch pot, a small animal, or a relief tile. These projects teach you to join pieces, control thickness, and notice how forms change from different viewpoints.
Clay stays workable longer when you keep it covered between sessions, but it can dry, crack, or slump if a piece is too thin or poorly supported. If you plan to fire a finished piece, use clay intended for a kiln and arrange access to a suitable firing service. Do not assume regular modeling clay can go into a home oven or household kiln; follow the material maker’s instructions.
Plaster: Plan Before It Sets
Plaster is a good choice for casting simple shapes, making reliefs, or building a form over an armature. You will need a mixing container, a measuring method, a stirring tool, and a mold or support suited to the project. Work in a ventilated area, protect your work surface, and wear eye protection. Read the product label for mixing and safety directions before combining the powder and water.
Unlike clay, plaster gives you a limited working window once mixed, so prepare the mold and tools first. Mix only what the project needs, and avoid adding water to plaster that has begun to set. For a first attempt, cast into a simple, flexible mold or make a small plaster relief. Keep plaster away from drains and dispose of leftover material according to its instructions.
Try Wire, Paper, or Air-Dry Clay
Wire offers a direct way to study gesture and balance. Pliers and craft wire are enough for a small figure or abstract form; bend the ends inward or cover them to prevent scratches. Paper can be folded, layered, or attached to a lightweight frame, making it useful for testing volume without committing to a heavy material. Both approaches reward simple shapes and clear structural support.
Air-dry clay avoids kiln access, while paper-based modeling compounds can be shaped with basic tools and left to dry. Their drying behavior varies, so make a small test piece and follow the package directions. Support thin or overhanging parts, and expect to refine the surface after drying if the material allows it. Choose one technique for your first project rather than combining several unfamiliar materials at once.
For a first project, choose the material that matches your workspace, patience, and preferred way of shaping. Clay is a strong option for revisable forms; plaster suits prepared molds and planned work; wire and paper make lightweight experiments accessible. Start small, follow material safety directions, and consider a beginner sculpture class at Desert Form Studio if you would like guided practice.